Zapier for Custom Integrations
Zapier is a platform that allows you to automate your workflow by connecting all of your favorite web applications under one umbrella. Available to our Enterprise or Custom plan users, automations called Zaps are here to help!
Let’s say you want to automatically export all influencers with Reach higher than 200,000 to a Google Sheet that you later use for your CRM system. Or you need to post all mentions with negative sentiment from Spain to a dedicated Slack channel. Here’s a breakdown of what you need to do to start automating your workflow with Zapier:
1. Create a Zapier account. Visit zapier.com and complete the sign-up process, alternatively you can use your Google or Facebook accounts to speed up the process.
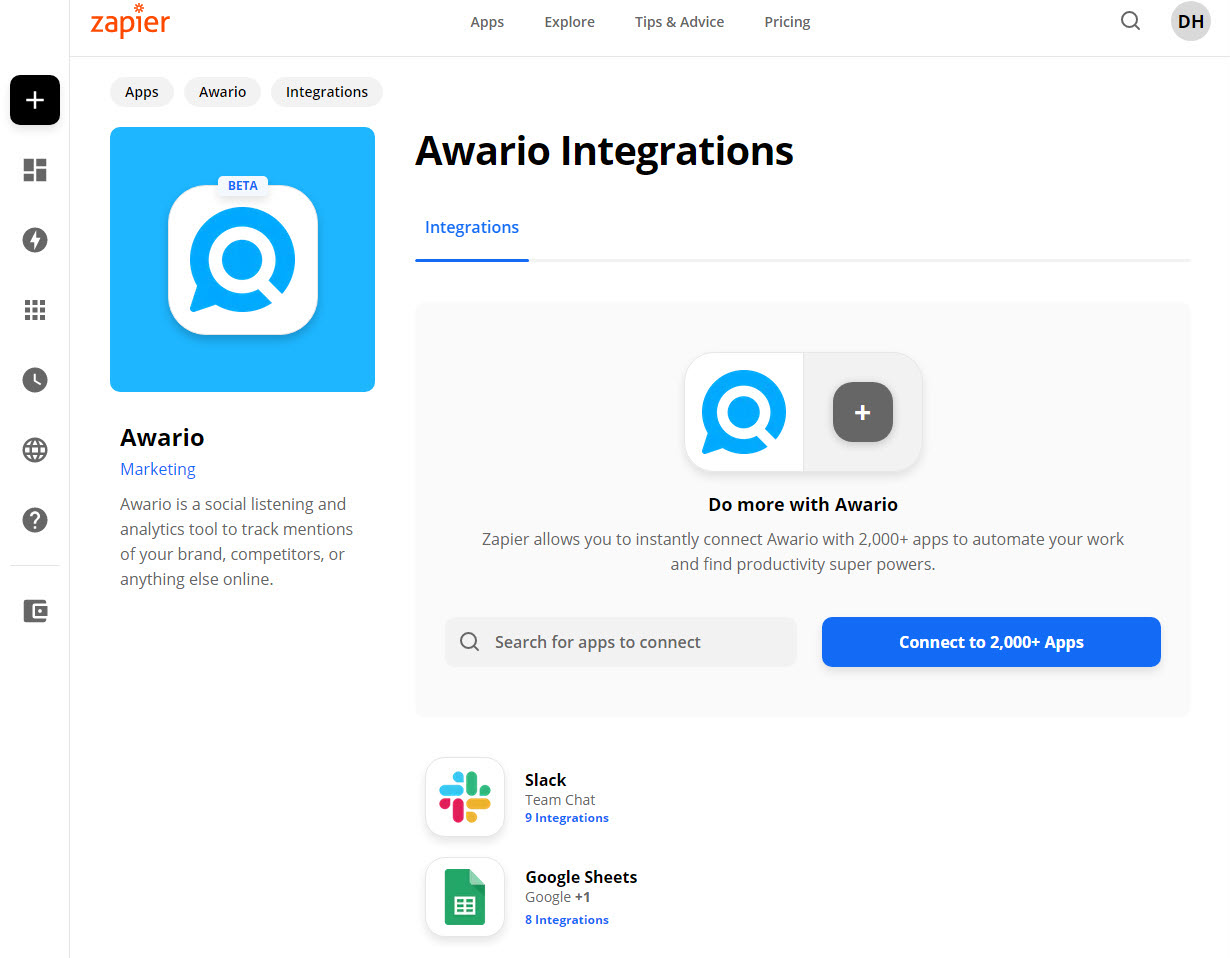
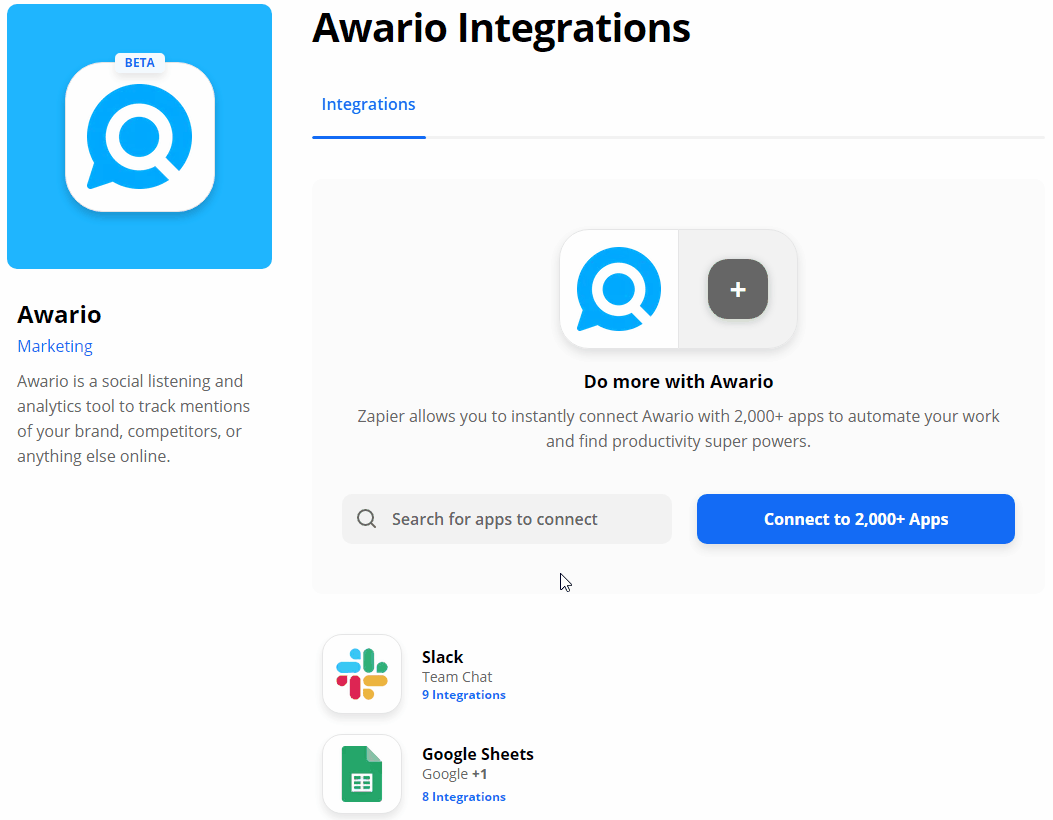
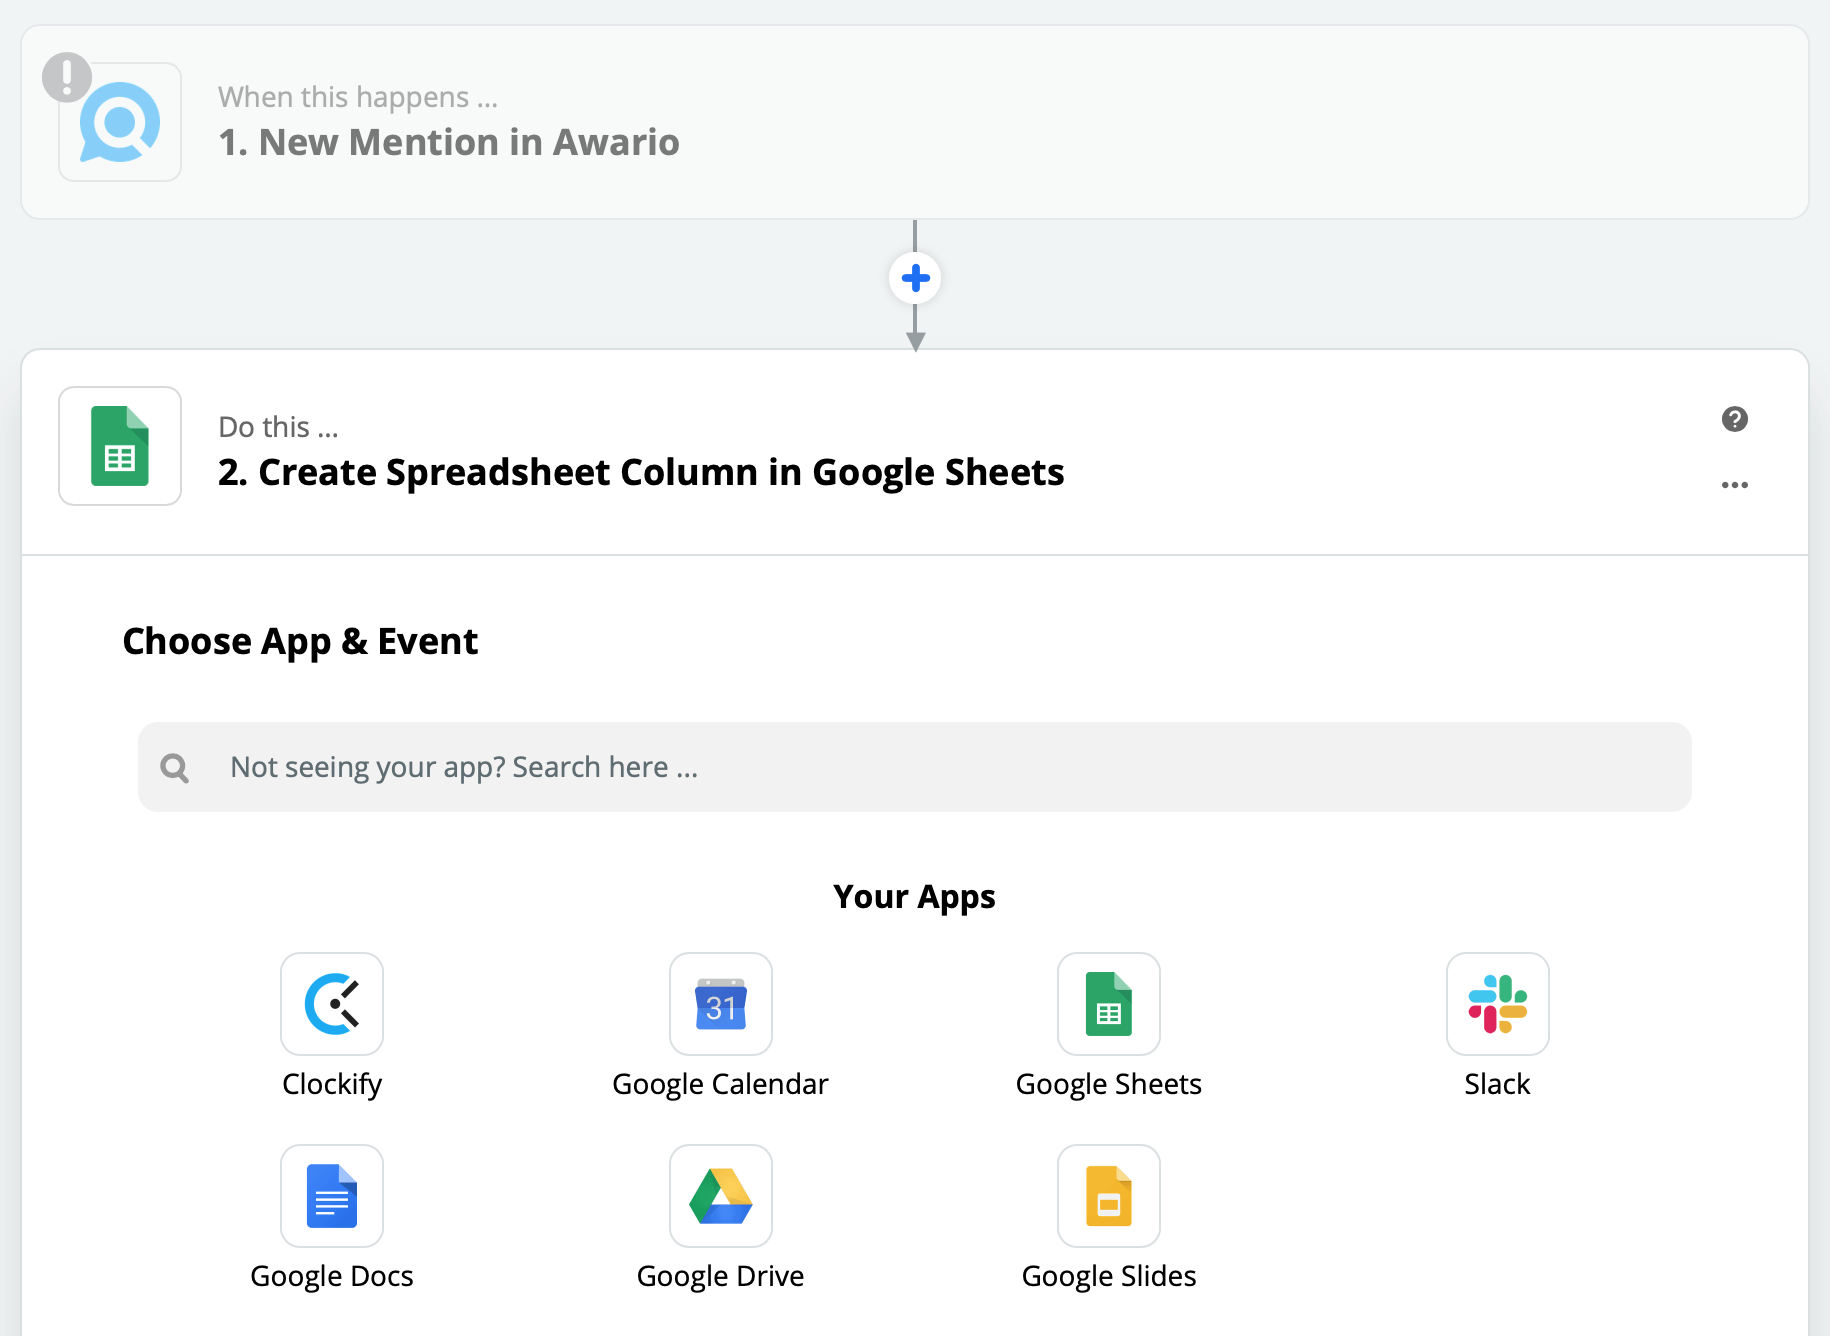
2. Visit Awario's integration page. Once you have an account, you’ll be able to use templates like Slack or Google Sheets, or create your very own integration with our app by visiting Awario’s integration page.
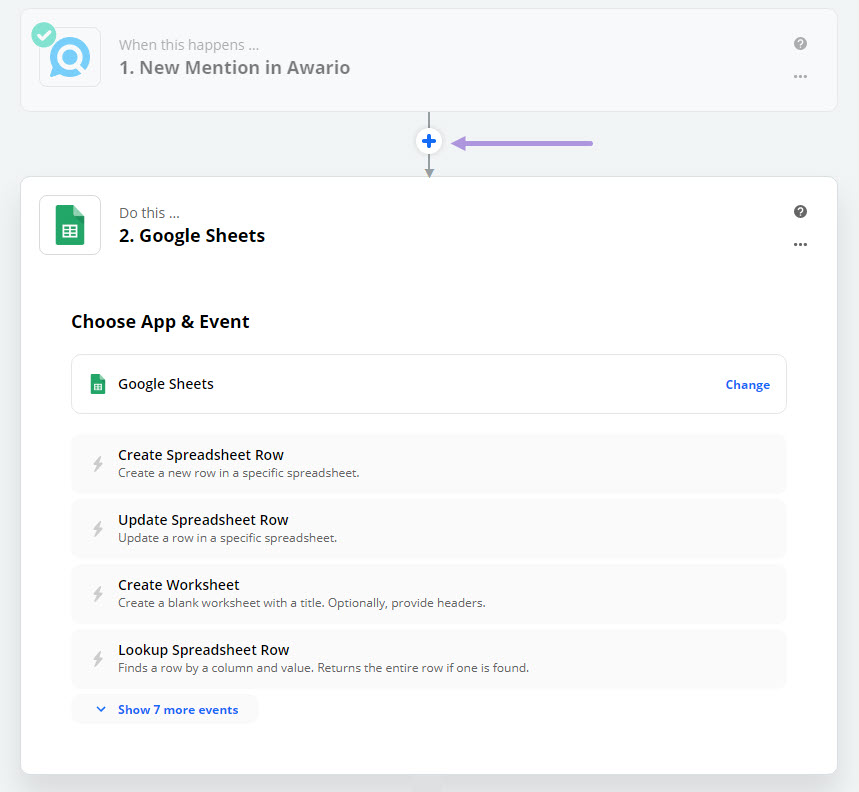
3. Enter the name of the app you want to connect. You can find the app you want to connect Awario to by using the search field on the integration's page. After that, you'll need to select your trigger (once X...), your action (do Y...), and press Connect.
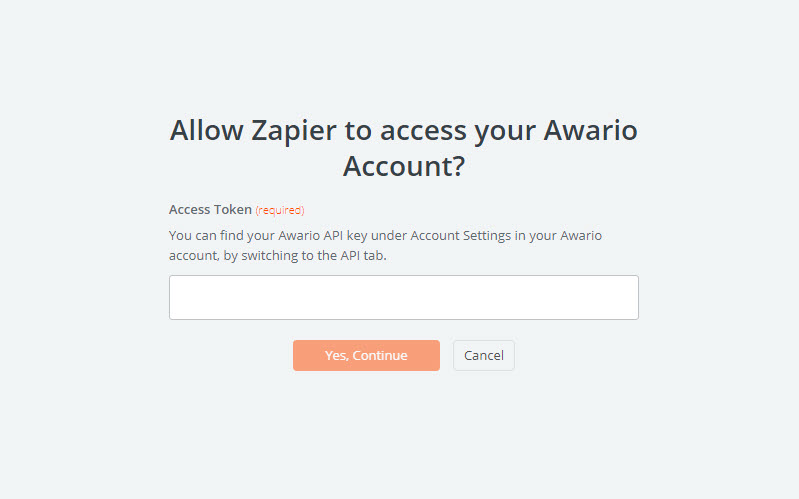
4. Connect your Awario and Zapier accounts. Log into your Awario account, copy your API key by opening your Account settings and navigating to the API tab. You’ll need to enter the API key to connect Zapier and Awario accounts.
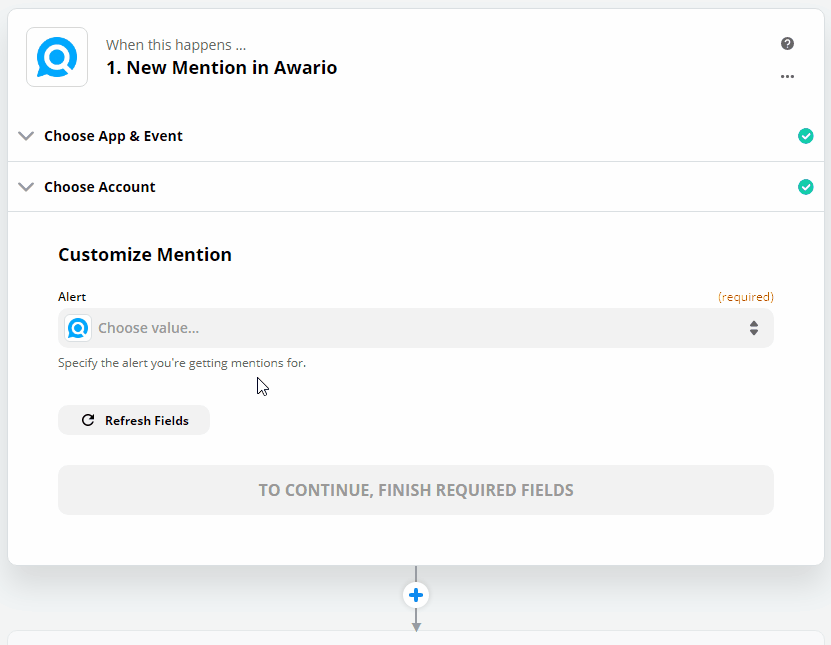
5. Select an alert to use and test the setup. Select an alert you want to receive data from, hit Continue, and then hit Test trigger. This will ensure that everything works correctly.
6. Choose an app to send mentions to. With your trigger all set up, last thing you need to do is select which app will receive the mentions we find, and what it will do with them. Zapier supports thousands of apps, so you’ll surely find something that suits your needs.
You can apply filters to your Zaps in order to further refine what data gets sent to the app of your choice. For example, a filter allows you to set your Zap to run only if the mentions come from a particular author, or if they have a certain Reach, or certain Sentiment, and so on.
Let’s say we wanted to only receive mentions with the Reach figure higher than 1,000. Here’s a breakdown of how we’d do it:
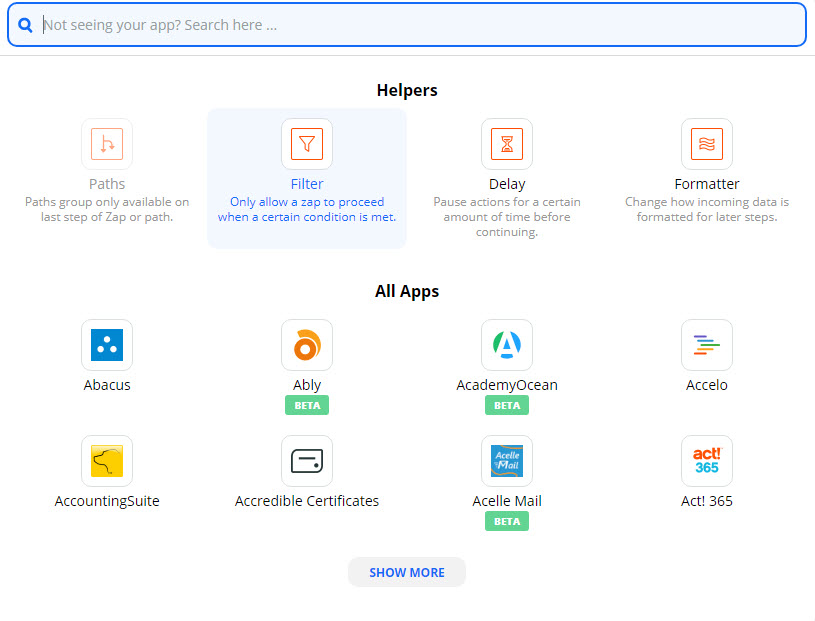
1. Click on the plus sign between your triggers. In your Zap’s settings, find a plus sign between 2 apps and click on it to add an additional step.
2. Find the Filter app. After you click on the plus sign, you'll need to find the Filter app in the Helpers section.
3. Define your parameters. These are Field, Conditions, and Value. We’ll go with Reach in the Field, select (Number) Greater than as our Condition, and put in a Value of 1,000.
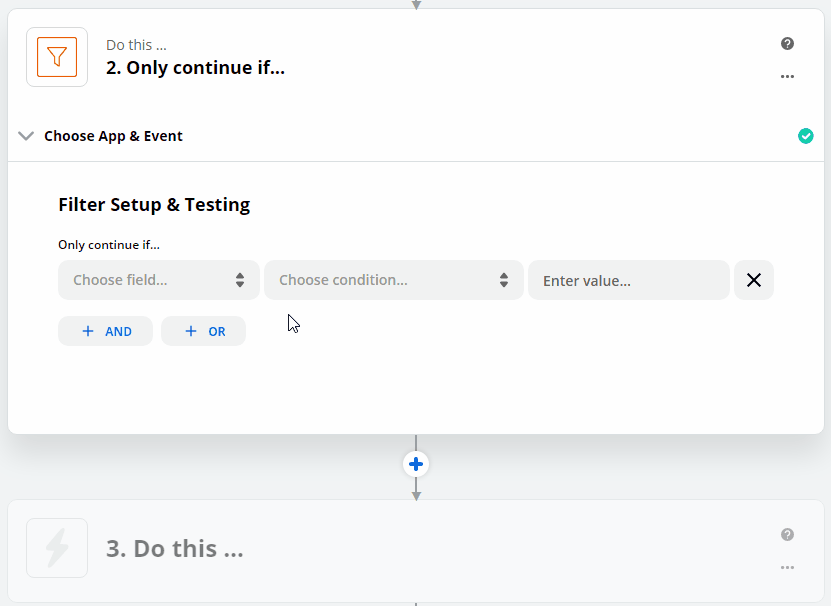
Success! Now, only the mentions with a Reach figure higher than 1,000 will trigger our Zap. Filters are very flexible, and it’s always worth experimenting to get the best results for your type of work. Check out this guide for more information on what you can do with Filters: Zapier Filters.
Here are a few sample Zaps you can set up to get the most out of Awario:
Awario and Google Sheets — this Zap will help you integrate Awario mentions into Google spreadsheets. For example, you can create a new row in Google Sheets once a mention from Twitter with a Reach figure less then 1,000 is found. We’ve made a Zap you can check out and modify to suit your needs: Create a Zap.
Awario and Slack integration — this Zap will help you enhance Awario's integration with Slack. For example, you can send a message to a private channel once a mention with a specific Reach figure is found: Create a Zap.
Awario and Microsoft Teams — this Zap will allow you to integrate Awario with Microsoft Teams. For example, a new message will be sent once a mention with negative Sentiment is captured: Create a Zap.