How to design effective Social Media images

If you want to execute a successful social media strategy, it is necessary for you to create effective social media images. This is because some of the fastest growing networks like Snapchat, Instagram and Pinterest only let you post images and videos.
Images also beat every other form of content on other networks like Facebook and Twitter.
If you create better images you will be able to drive more engagement, traffic and sales with almost any social network that lets you post them.
Therefore, today I am going to show you how to design effective social media images.
Choose a goal:
The first thing you must do before you design your social media image is choose a goal. This is because different types of images perform best for different types of goals.
For example, if your aim is to drive more engagement, it would be better to create an image displaying a quote, as these images usually keep the social media user on the network without diverting them to a website. They will be more likely to engage with your post by liking it and commenting on it. But if your aim is to drive more traffic, you will need to create an image that promotes the webpage you want to send the traffic to like this post from Agorapulse.

The entire purpose of the image is to inform their fans about the webinars they are running. They also included a link where people can register. These types of images will drive more traffic, but will get you less engagement.
It is better to choose one goal per image and get the most out of it than to have multiple goals and confuse your followers.
Sometimes it is okay to have multiple goals for each image, but one goal should be primary and the rest should be secondary. The job of secondary goals should be to enhance the primary goal. So, have a good think about what you want to achieve when you publish this post on social media and then create an image that will help you execute it.
Choose the right social networks and set the dimensions:
Once you know your goals, you can begin choosing the social networks that will work best to help you achieve them. For example, if you want more traffic, it would be better to only create images for social networks like Facebook and Pinterest as they drive the most traffic to websites.

This will save you a lot of time, and you can dedicate it to creating unique images for each social network.
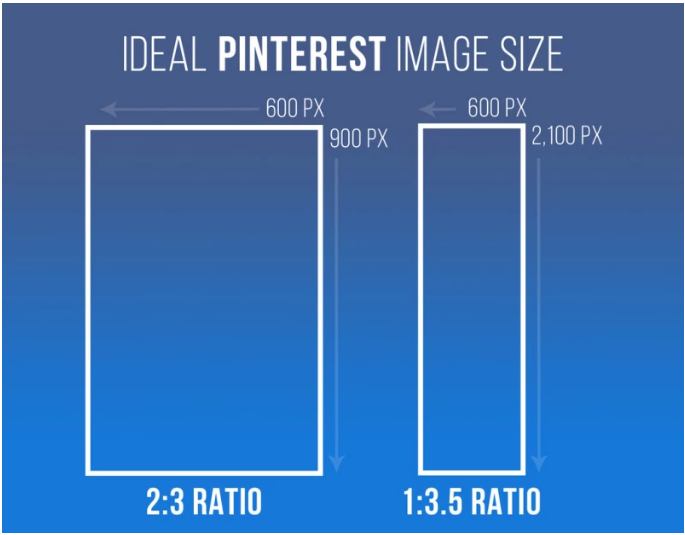
While designing the images, make sure you pay special attention to the dimensions, as different dimensions work for different social networks. For example, if you were creating an image for Pinterest, you will need to use an image that is 600 X 900 pixels in size as tall images with these dimensions perform best there.
But if you were creating one for Facebook or Twitter, a flat landscape shaped image will perform best.
To easily create images of the right dimensions for all the top social networks, use a tool like Crello. To get started all you have to do is sign up for Crello and pick a language. It’s free.
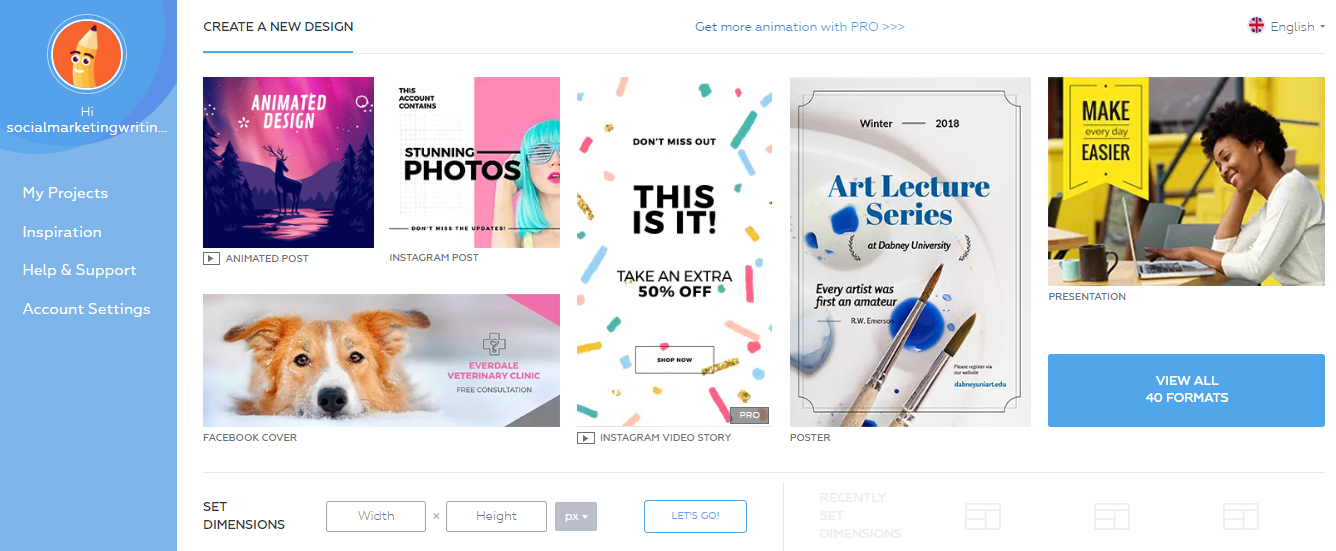
Then you can select the social network (design format) you are creating the image for and it will automatically set the dimensions and suggest background images with those dimensions. This simplifies the design process.
Begin designing the images:
After you have chosen the background image or template of the right dimensions, you can begin designing your images. Many people mess up this part as they try out too many things and fail in the process. When you are new to designing, it is best to get the basics right than to try out sophisticated techniques and make too many mistakes. Once you master the basics you can try more advanced things.
Here are a few basic things you need to get right first…
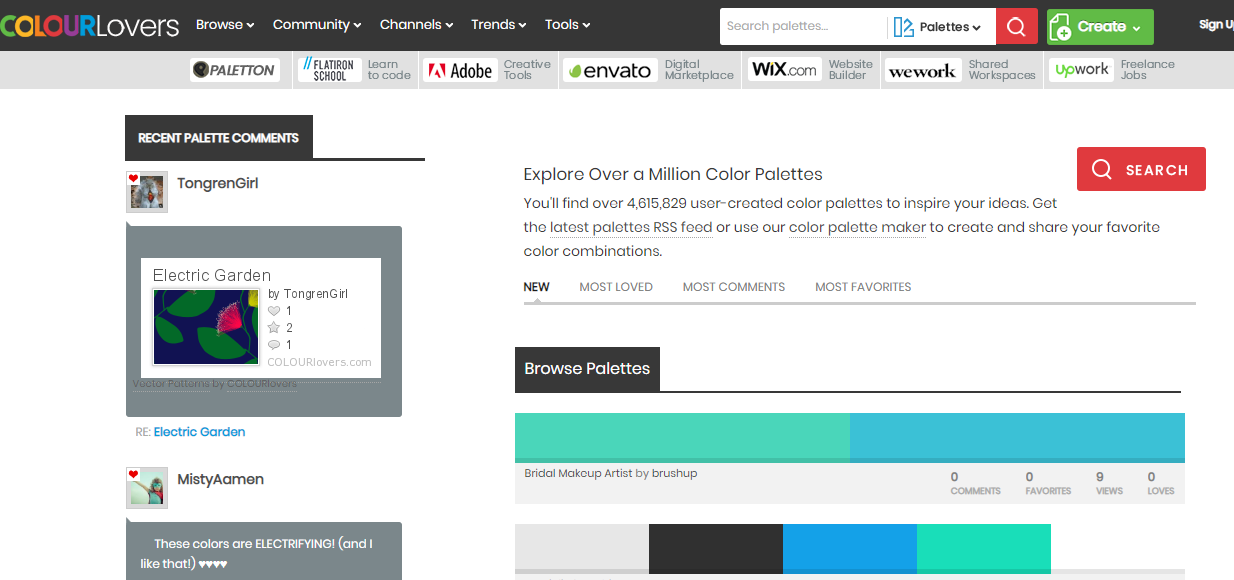
Colour: The key to creating great social media images is to stick to using only a few colours. The easiest way to do this is by implementing pre-made palettes. If you use Crello, your template will already contain the palette, so you don’t need to find colours. Otherwise you can use a site like Colour Lovers to find palettes.
The colours you use should depend on the purpose of the image you are creating. If you are using an image to provide better customer service on social media, you can use colours like blue for its calming effect.
But if you are trying to sell products, you can use colours like red, as it is good for grabbing attention and getting people to take action. This is one of the reason why it is so commonly used in sales message both online and offline.
Spacing: One of the biggest mistakes people make while creating images is overcrowding it with text. You should avoid this and leave plenty of space around the images. This will not only make the image more appealing to look at, but it will get the most important elements to standout.
Font: When adding the text to your images, it is best to use the simplest fonts as these are the easy ones to read. Fancy fonts can grab more attention, but they can sometimes be hard to read. Also limit the number of fonts to 2 per image and only use fonts that pair well together.
To find fonts that pair well together you can use a tool like Font Pair.
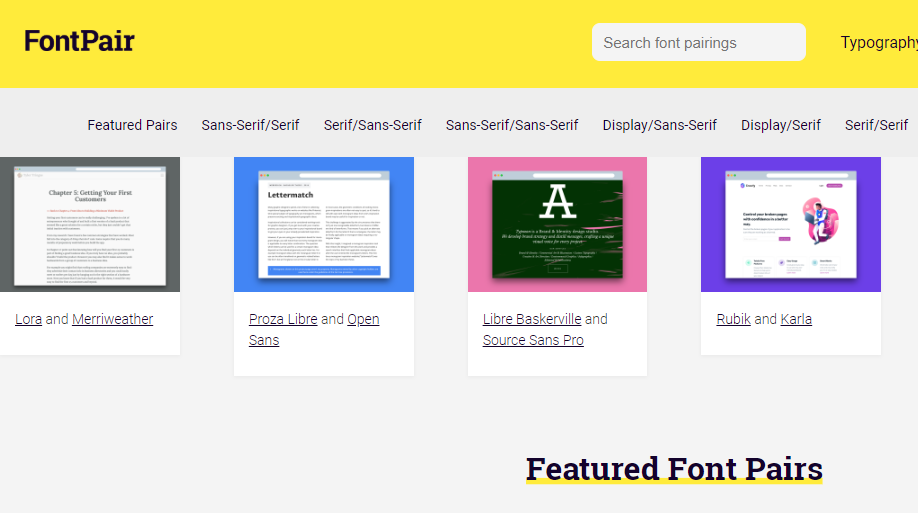
They have a massive list of fonts that look good together. They also have images of how they look when used next to each other. Feel free to experiment with a few to find the ones that suit you best. You can later use the same pair for every image you create. They can become a part of your brand.
Illustrations: To complement the text in your images you can use simple icons and illustrations. Your AI photo editing tool should have a collection of these. But there are also several sites where you can download and use icons for free..
If you get these basics right, you should be able to create a quality image that will help accomplish your social media marketing goals.
Now practice designing effective social media images every day…
You won’t automatically start creating best images at your first attempt. You will require a lot of practice. So, spend some time designing a few images and after you master the basics and are able to create good looking images, you can try out more advanced techniques.
Also make sure you monitor the performance of your images after you publish them on social media. The data you gather from here will help you create images your fans will engage with better.
What steps do you take when creating your social media images? Do you use any other techniques that haven’t been listed in this post? Please leave your comments below?